
My primary scope is an ECE, I had cleaned the outer optical surfaces with lens tissue and cleaner but the bino head had a lot of mold growth internal and I was waiting until I found a cheap old scope of identical design to practice on first before I attempted it. This thread is about the clean up of this second scope head which I bought today. The process went well and I now have a complete spare head, along with a decent second ECE too I might add
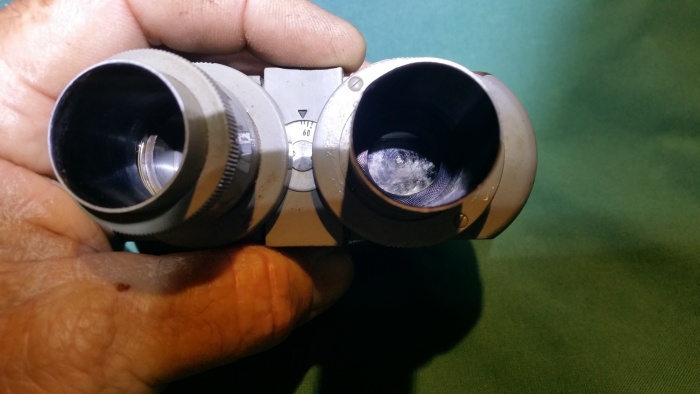
Below is the head as I found it with filthy optics on the outside. These bino heads have 6 small prisms inside too, each with two surfaces that mold can grow on. Now let me state CLEARLY here, because it is not evident in the pictures, that each prism is held in place by a backing plate or cage, and a set of grub screws (with a fixative over them) These grub screws are used to align them in a perfect optical path. Under no circumstances would I ever loosen these grub screws because the realignment process would be a nightmare outside of a professional repair shop.
Luckily though both sides of nearly all prisms can be reached with cleaning tissue after basic disassembly. Be Very Cautious though because there is grease in various places within the head and the last thing you want to do if you ever attempt this is to transfer grease to an optical surface. After dissassembly and before the actual cleaning I washed my hands thoroughly to remove any traces.
The Head Before Cleaning
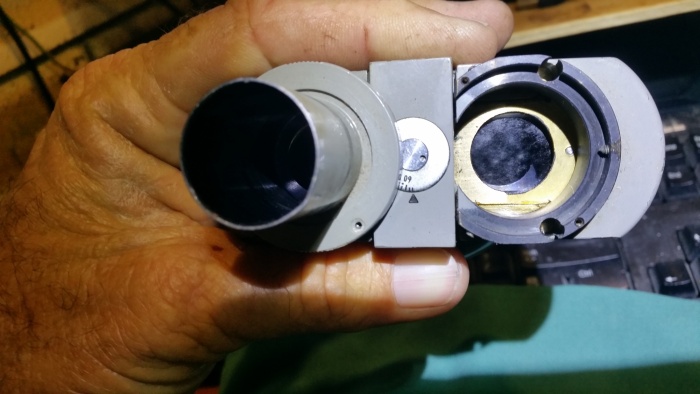
Head with one EP tube removed.
Two obvious screws held the cover panel on and 3 grub screws held the tube in place. I undid each grub screw exactly 2 turns
which was more than needed to remove the tube but allowed me to easily relocate the tubes in the same precise position if required.
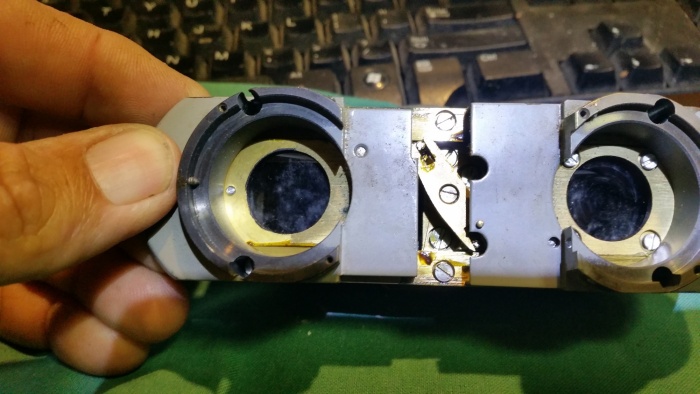
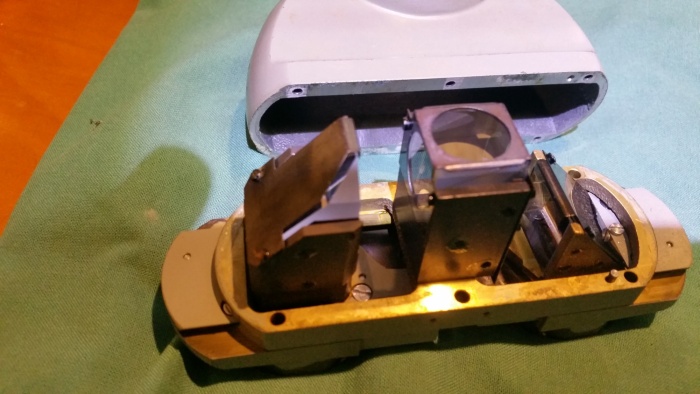
The Head with tubes and position bracket off showing the tops of 2 prisms.
And LOTS of Grease! There were no tricks to this but I had to be careful when re-attaching the position bracket so as the pin
was located in the little arm that moves the calibration dial.
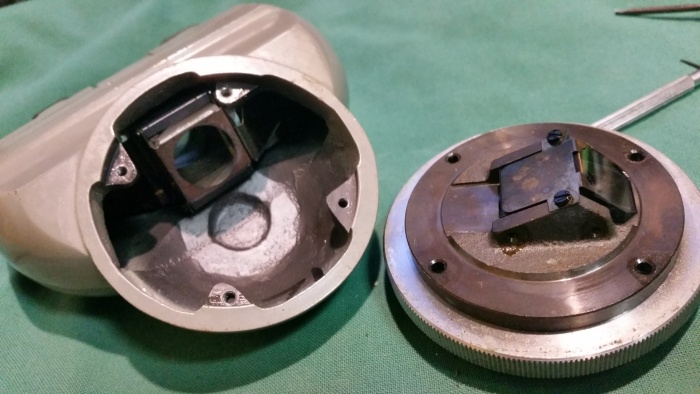
The underside of the EP section showing the cluster of small prisms, all which were easily cleaned with isopropyl alcohol
(or whatever you choose) NOTE! I took great care to remove this without bashing it on the aluminum case on the way out
and always had it prism side up. Note this photo. It shows the orientation of the cluster to the head itself thus I used it to
avoid confusion when re-inserting it. That is the value of photos.
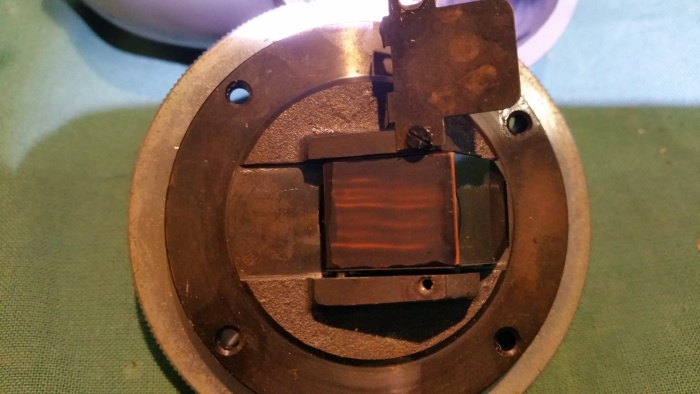
Next was the bottom section which came off by removing the 4 screws. As you can see, this gives access to 2 of the
prism surfaces to be cleaned, the final one is below and is accessed by unscrewing a dark tube that itself had 2 glass elements.
Here was the point where I discovered the grub screws that held each prism in alignment. When I saw them
embedded into those alloy uprights I immediately reattached this bracket. You can just see them in the pic above,
along with a dribble of the goop that locks them in place.
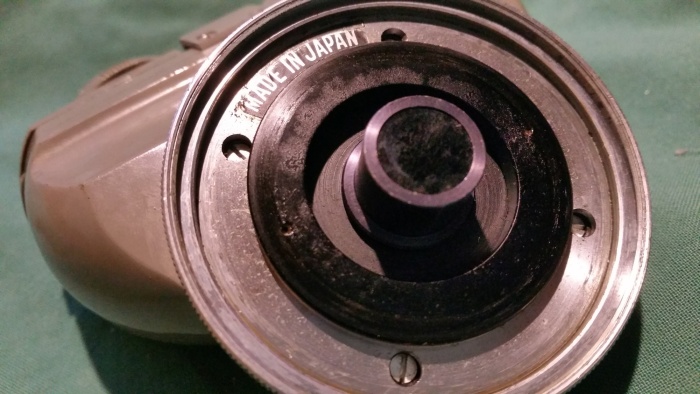
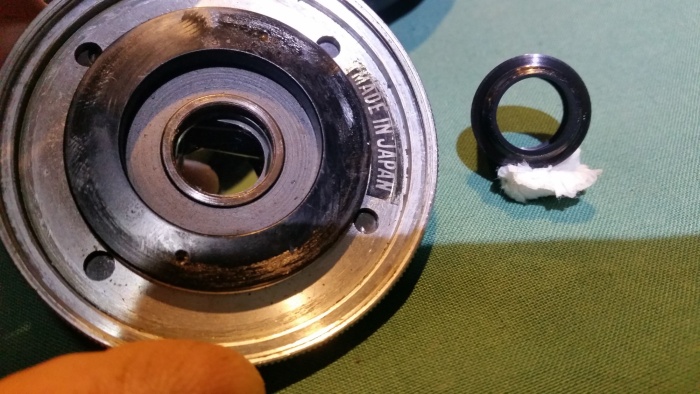
The final prism surface to clean, hidden under the short dark tube (seen endwise in this pic and in the 2nd pic on the thread) The tube screwed out easily, it seems a lot of the tubes on microscopes undo to allow access to parts beyond. Note to self to check these all and ensure they are snug because many have glass elements in them.
Great care was taken in re-assembly, ensuring no grease was transferred where it shouldn't and that all screws threaded
properly and were snug. All in all it was a pretty easy operation, I don't know what all the fuss was about in my mind leading up to it. Needless to say the view through this head is now "perfect" where as before it was a hazy mess. Tomorrow I will clean the original head while the process is still fresh in my mind.
EDIT: The alignment of the eyepiece tubes that were removed via the 3 small recessed grub screws was indeed critical and the collimation of the microscope was affected. The process of correcting this was simple enough given a few standard accessories and is listed in the link (downloadable as a pdf on site) kindly provided by MichaelG in his post below.
