McConkey wrote:
You mention your setup is modified for electronic flash. Do you mind sharing how this is done? I can only imagine the improvement a flash would make when imaging fast moving specimens.
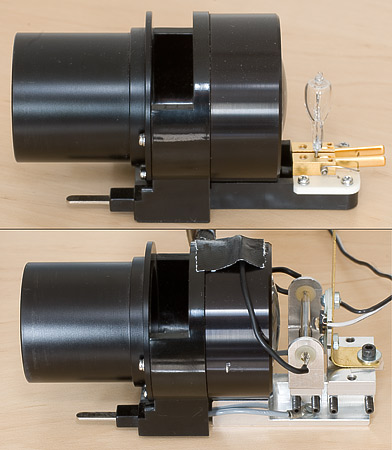
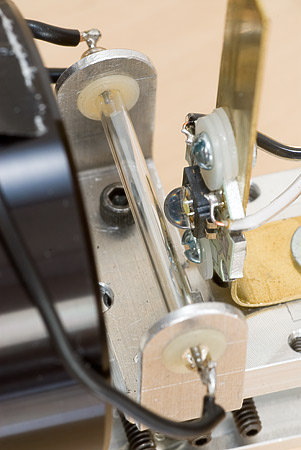
I've used about 4 different methods over the years. The one I use now is for my Olympus BHS. This stand has a quickly removable lamphouse plugged into the back. I got a second lamphouse, removed the 100W bulb and plug, and made up a bracket to hold a flash tube. The flash tube from a Vivitar 283 was mounted in the exact position previously occupied by the bulb filament (on a small platform that can be adjusted up/down and forward/back). Directly behind the flash tube is an LED to provide viewing and focusing light. The pictures below provide a closer look at the modification.
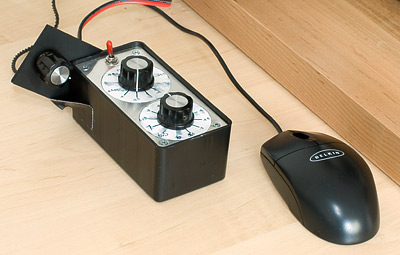
This is the "control box" that varies the flash out put in 1/2 stop increments over a range of 8 stops. I never use TTL auto-flash, always manual. The mouse has been wired directly to my camera remote jack. I just use the right and left buttons. Right mouse button is like a "partial shutter press", left mouse button is full shutter release.
I've used this for over 9 years without a problem.
Other methods that have worked well involved a 45 degree glass placed above the base light port with a flash directed into it from the side. Some of the flash illumination was thus reflected upward, while sufficient light came through from the base to provide for viewing and focus. This is pretty easy to set up. You can use plain glass, semi-silvered mirrors, or other types of beamsplitters. ( I actually used a very thin pellicle mirror... no chance of "ghosting" but only because I was able to snag one at the right price on Ebay. At one time I also used a plain 2x3" glass slide!)
Once I had a set-up using a bifurcated ("Y" shaped) fiber optic light guide with a microscope where the bulb was plugged into the the rear of the stand. I placed one arm of the "Y" into a fiber optic illuminator, and the other up against the flash tube of an electronic flash. The microscope bulb was removed, and the single, common end of the light guide was placed at the bulb location. This worked surprisingly well. (The more "randomized" the light guide the better).
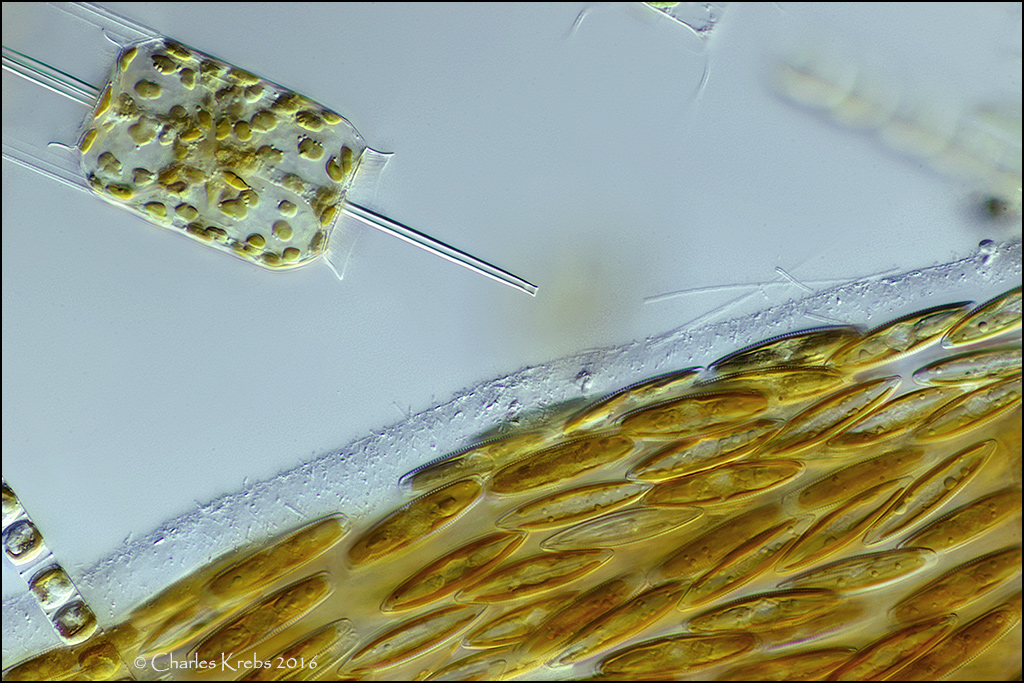
Keep in mind that for flash to be really useful you will need a trinocular head that permits a "split" between the viewing eyepieces and the camera trinocular tube. You also need to pay attention to the continuous light used for viewing and focusing. When taking a flash picture the continuous light level should be low enough so that it does not add to the image (use the fastest flash sync speed your camera allows). Easily checked by taking an image with the flash turned off. This is pretty easy to do and you will still have sufficient continuous light to comfortably see what you are doing.